How to capture photos
Simple do's and don'ts for better representation of your product.
Great photos are the foundation of amazing 3D models. Think of each photo as a piece of a puzzle - the better each piece, the more beautiful your final 3D model will be.
Camera settings made simple
- Use your phone's regular camera app (not portrait mode or any special filters)
- Turn off HDR if your phone has this option - it can confuse the photogrammetry process
- Keep the same settings for all photos - don't let your phone auto-adjust between shots
- Take photos in the highest quality your phone allows but remember to stick within your plan's photo upload limits
Lighting that works
Lighting is like makeup for your product - it can make or break how good it looks.
- Soft, even light is best: Think cloudy day, not bright sunshine
- Avoid shadows: If you see dark spots on your item, add more light or move to a brighter area
- No flash: Your phone's flash creates harsh, uneven lighting
- Consistent light: Don't start in bright light and finish in dim light - keep it the same
- Indoor tip: Place your item near a large window, but not in direct sunlight
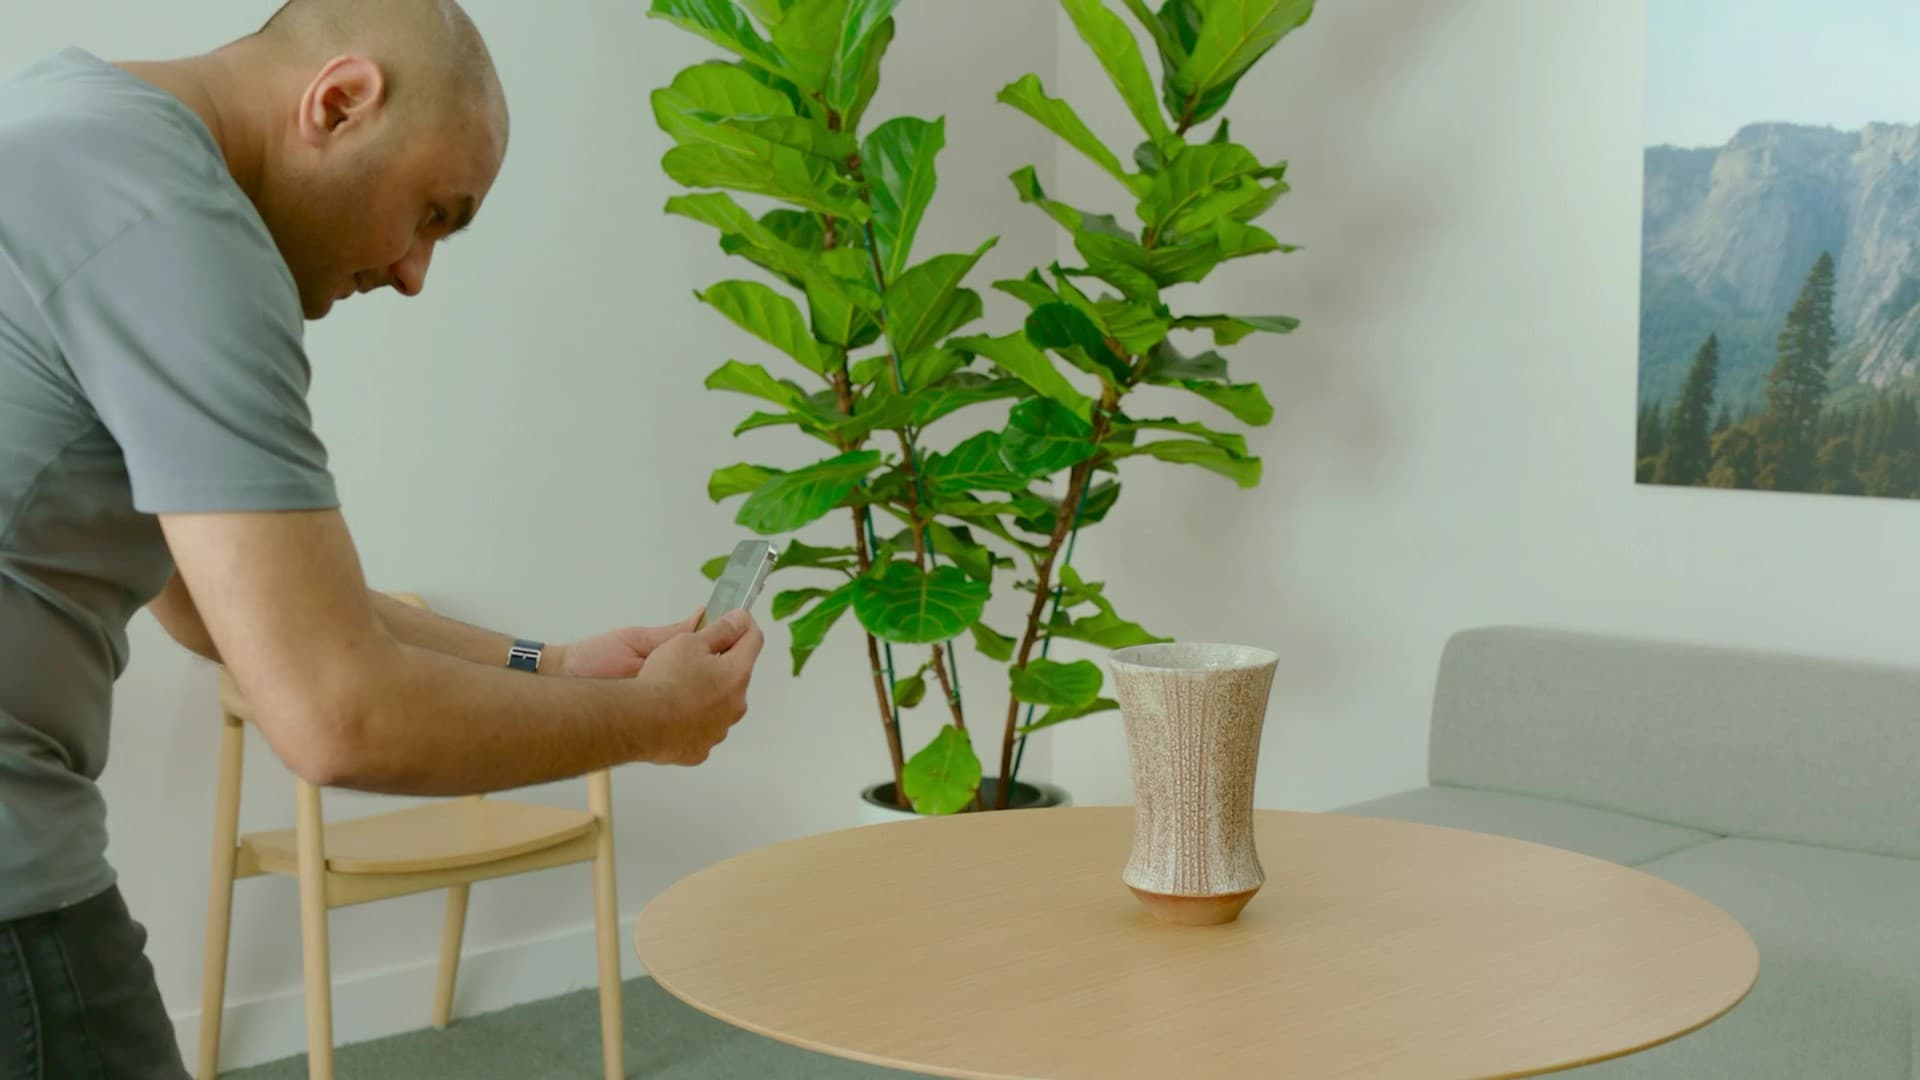
Taking the perfect shot
- Fill the frame: Your product should take up most of the photo. Get close, but don't cut off any important parts
- Keep it sharp: Tap your phone screen on your product to focus. Wait for the focus to lock before taking the photo
- Hold steady: Take a breath, hold it, and gently press the shutter. Shaky hands = blurry photos
- Check each photo: After taking a photo, quickly check that it's sharp and well-lit. Retake if needed
The overlap rule
This is the most important rule for 3D scanning success:
- 70% overlap: Each new photo should show about 70% of what the previous photo showed
- Why this matters: The computer finds matching details between photos to build your 3D model
- Easy way to check: If you can't see any part of your previous photo in your current photo, you've moved too far
- Move slowly: Take tiny steps between photos - about 6 inches or the length of your foot
Common photo mistakes
- Blurry photos: The #1 killer of 3D models. Always check your photos are sharp
- Too much zoom: Don't use digital zoom - it makes photos fuzzy. Move closer instead
- Inconsistent lighting: Don't mix indoor and outdoor lighting in the same scan
- Reflections and glare: Shiny surfaces can confuse the software. Angle your photos to avoid reflections
- Moving the object: Your product should stay perfectly still during the entire photo session
Quick quality checklist
Before you finish, check that your photos have:
Sharp focus on your product
Even, soft lighting without harsh shadows
Consistent brightness across all photos
Your product fills most of each photo
70% overlap between consecutive photos
Views from above, around, and below your product if possible
If your upload doesn't work
- Too many photos: Try uploading fewer photos (25-50 instead of 100+)
- Photos too large: Some phones take huge photos. Try the "medium" quality setting instead of "high"
- Poor internet: Large photo uploads need good wifi. Try again when you have a spaner connection
- Duplicate photos: Remove any photos that look exactly the same